Discussions
Custom Hitbox/Fightstick Build
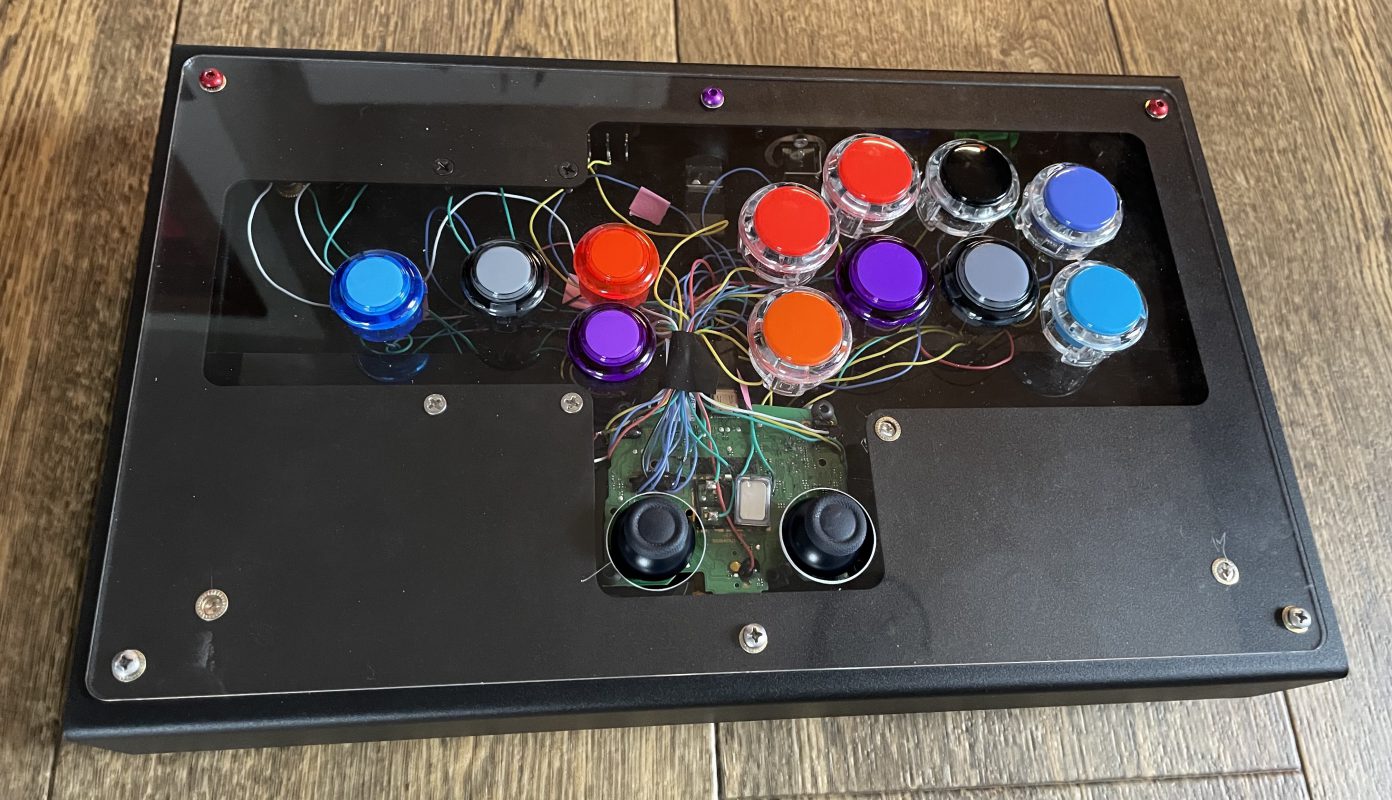
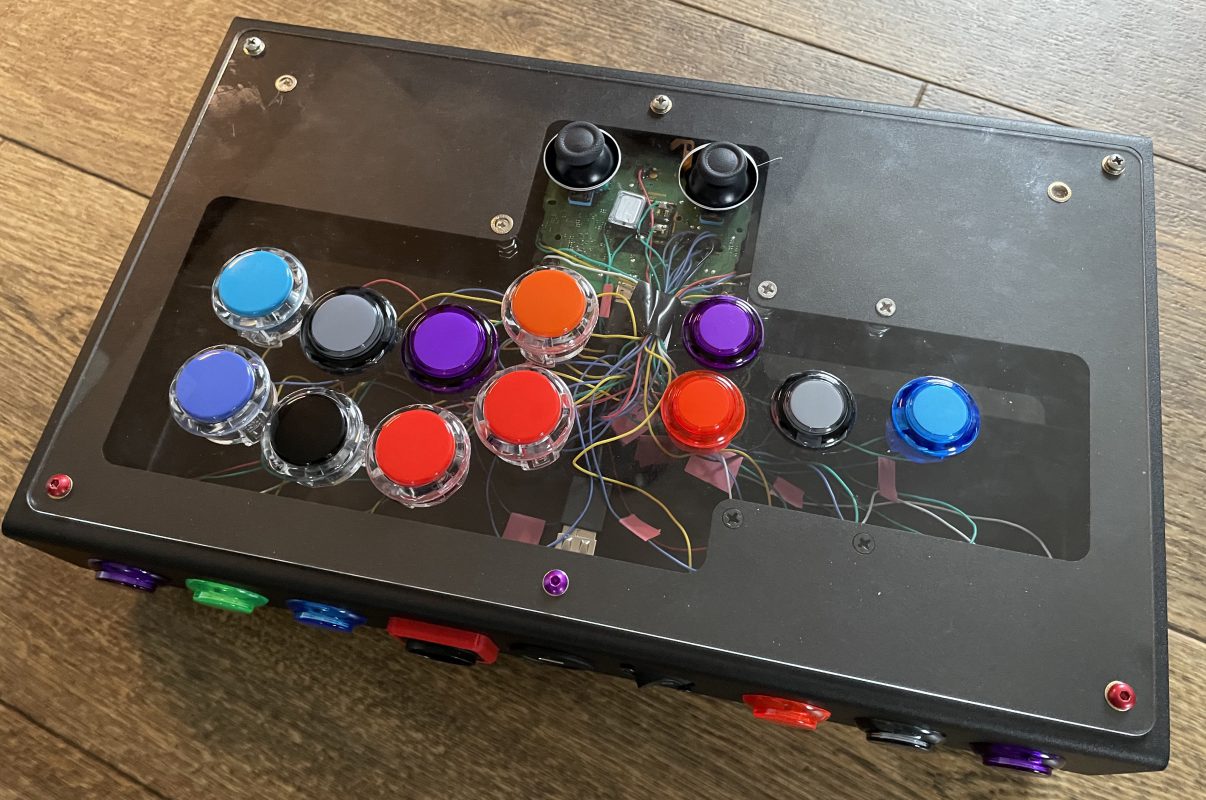
How could I possibly get native PS5 compatibility with such a custom box? Well, it’s because the brains of the operation is actually a Dualsense motherboard!
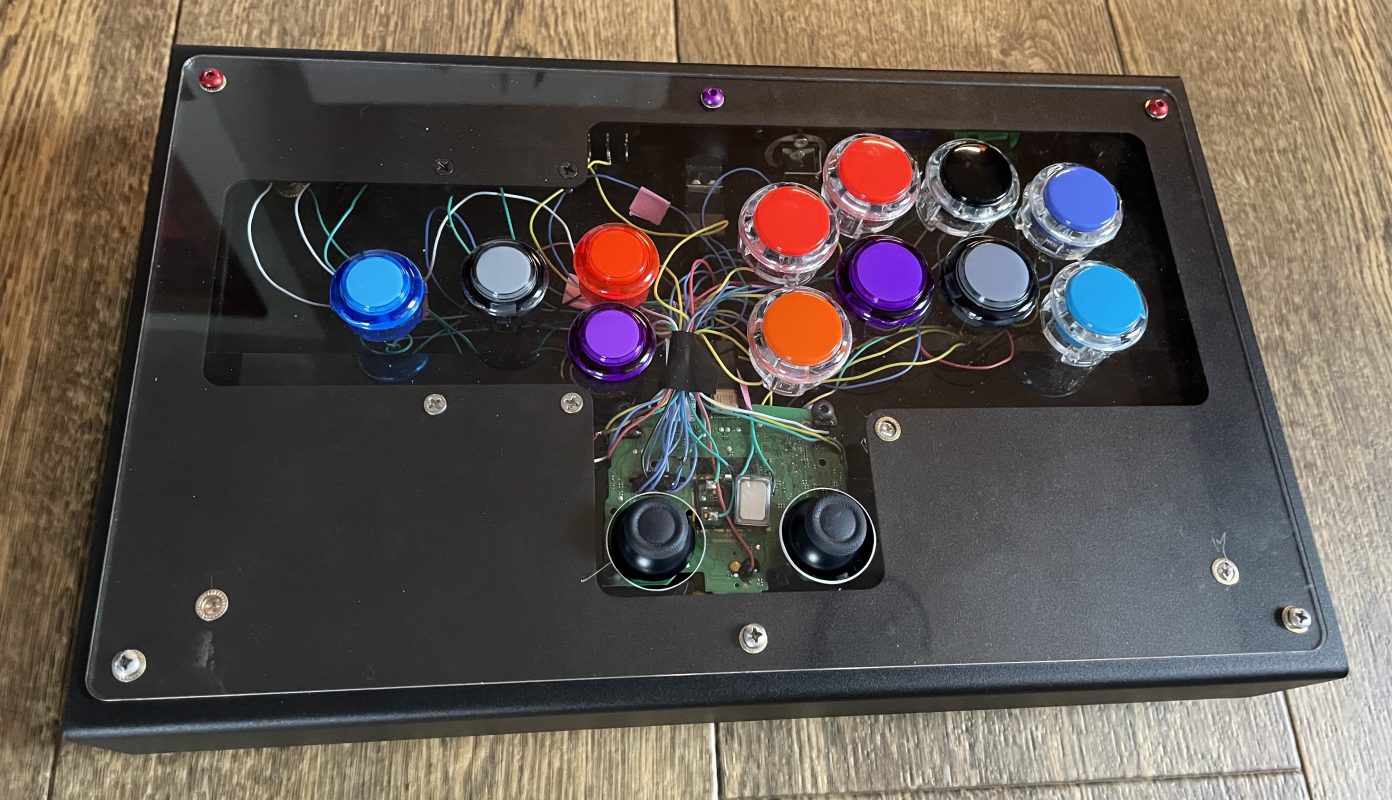
Please excuse the scratches and scuffs. It’s seen some use (:
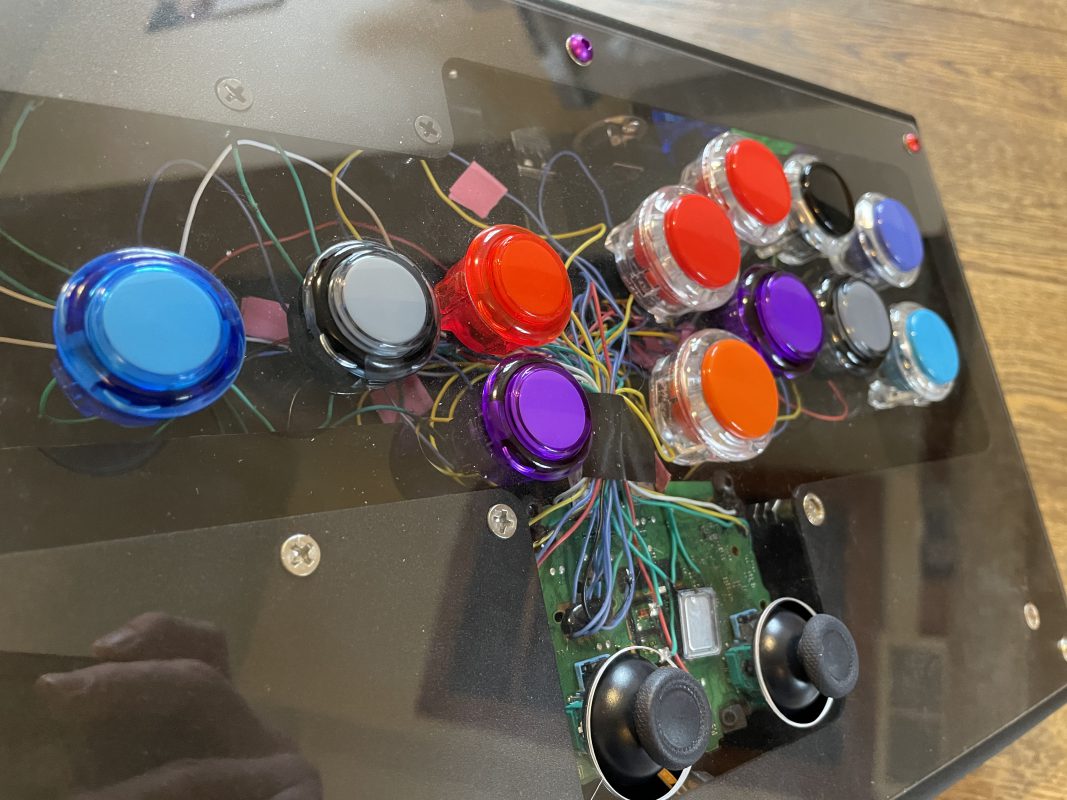
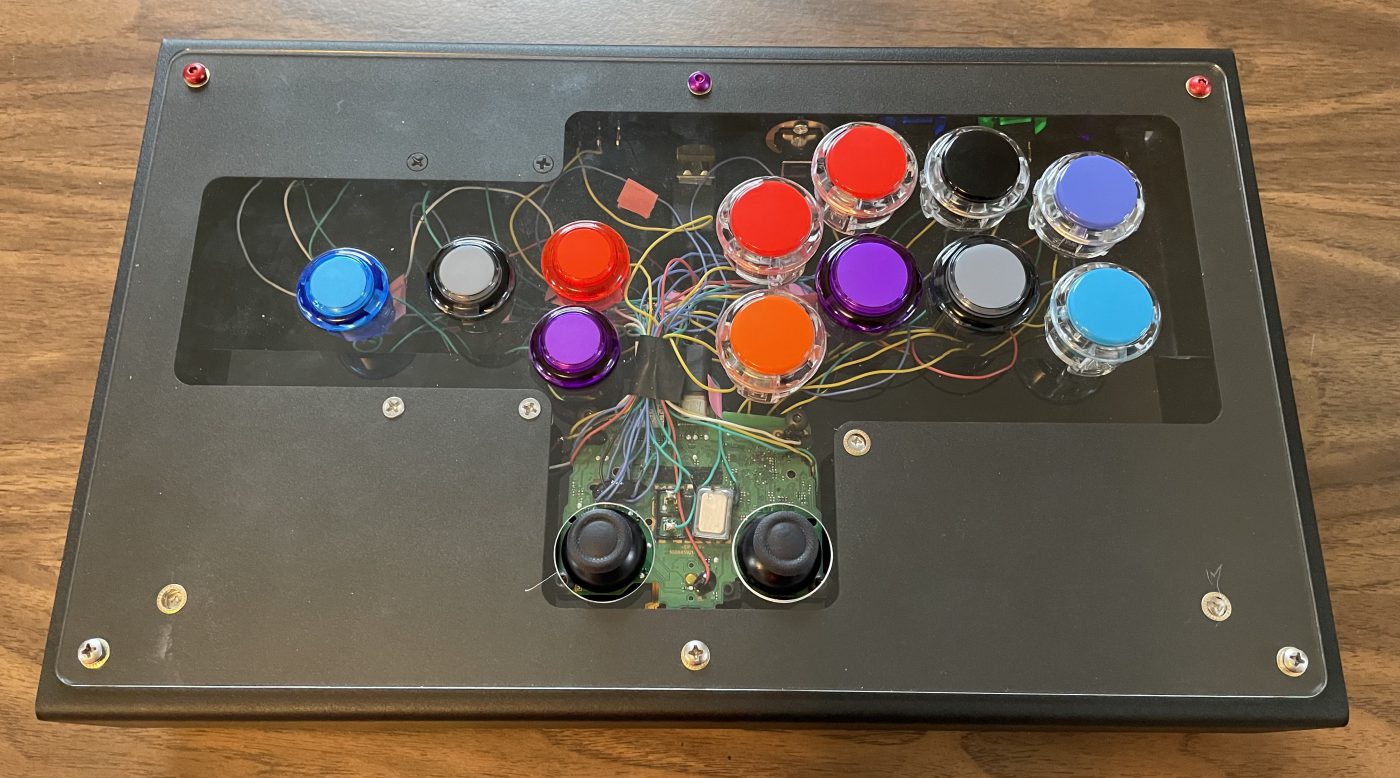
Most of the button holes were custom drilled/fitted into the plexiglass sheet. I tailored the spacing and button sizes to accommodate my personal hand size.
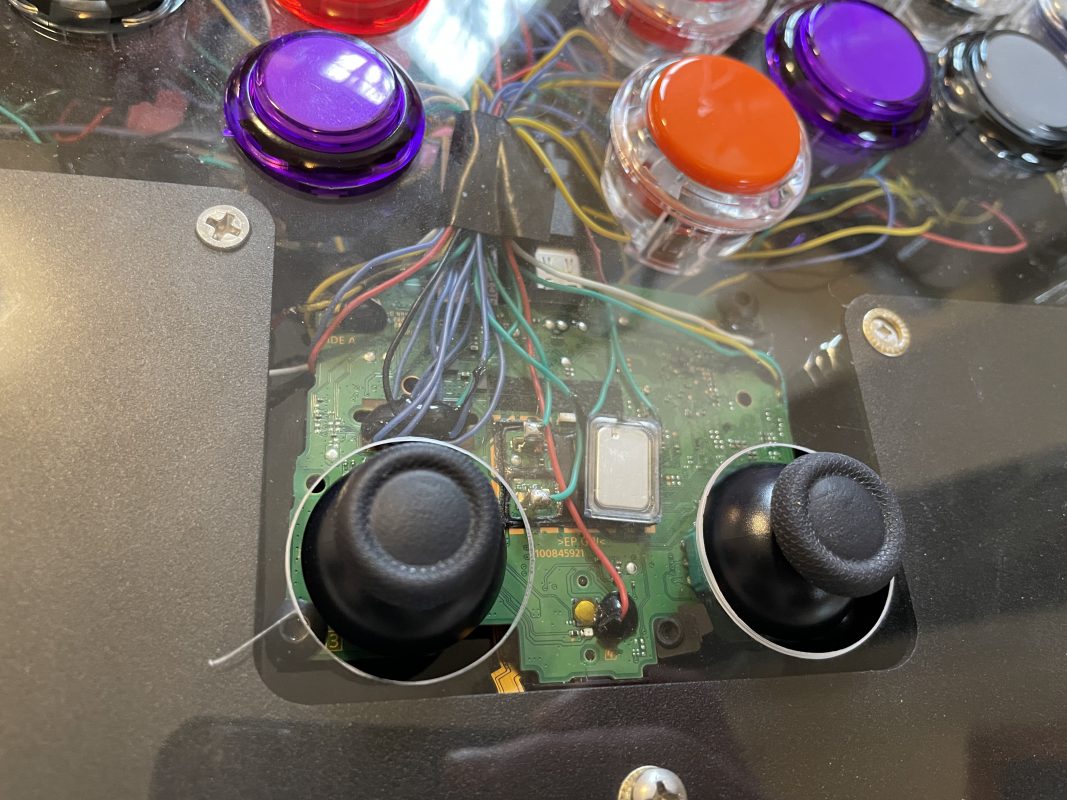
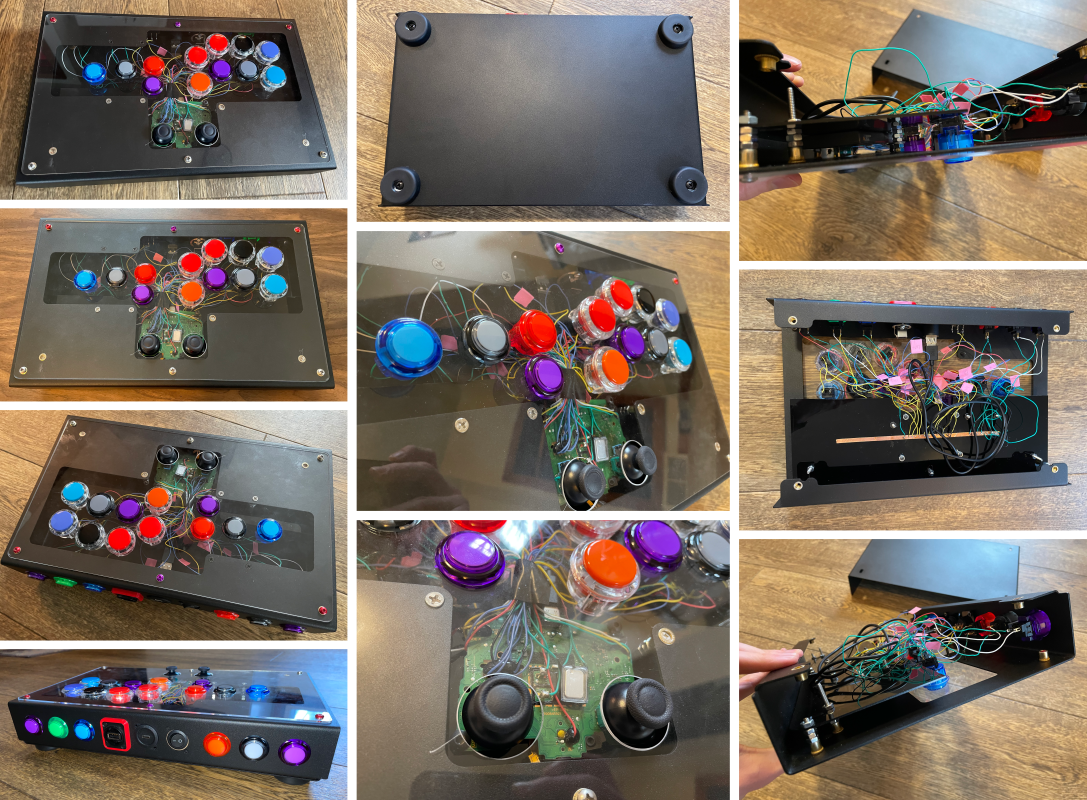
All buttons/triggers on a Dualsense have their own button mapped somewhere on the hitbox. The speaker is placed between the joystick holes so that the sound comes out the holes. It’s not a great acoustic experience, but it sounds better than you’d think!
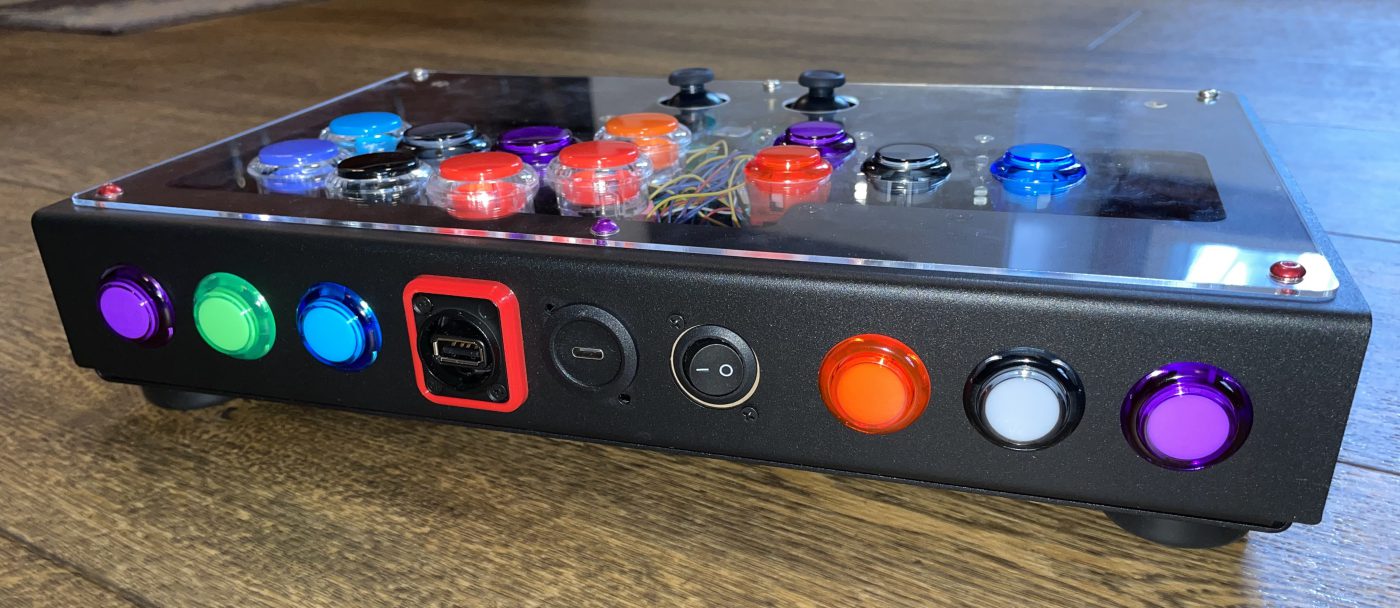
USB-C input for charging, just like a typical Dualsense. Beside that is a hardware killswitch to the battery, which saves on overall battery life.
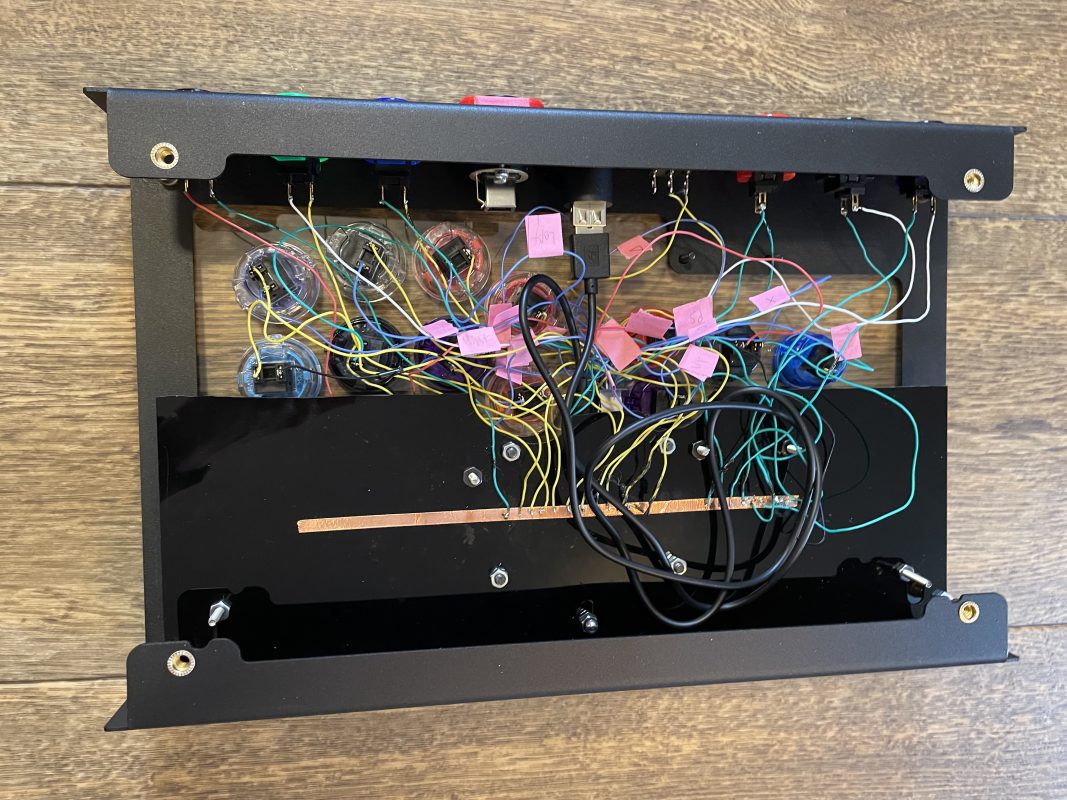
This adhesive copper strip is being used as a grounding plane.
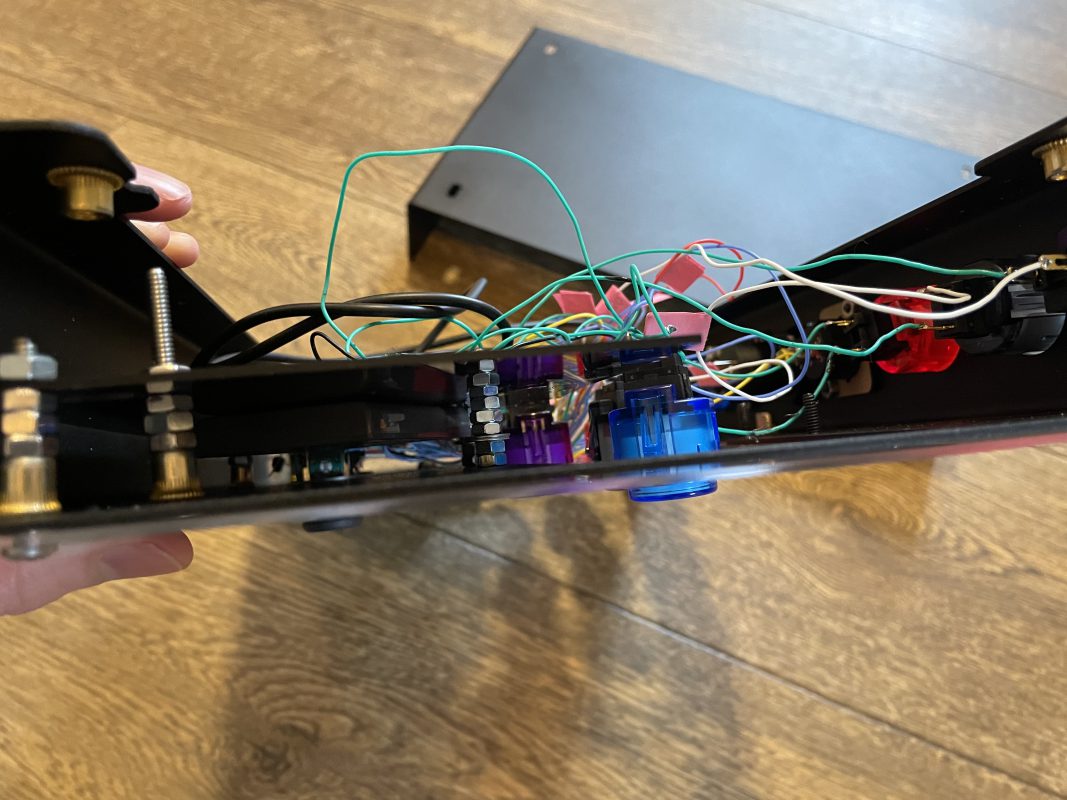
You can see the battery mounted there between the two sheets, and the crazy amount of spacers used to chieve the perfect height in which the joystick stuck out from the front.
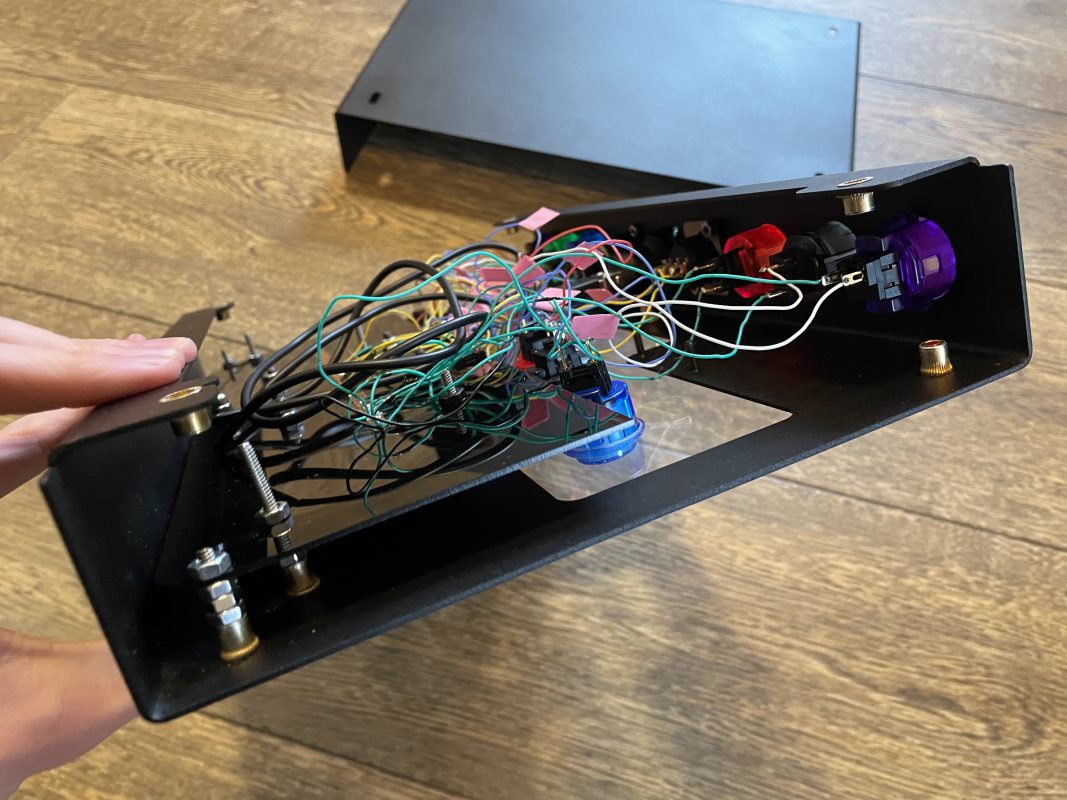
Hurdles overcame:
– The L2/R2 triggers are analog inputs which the Dualsense’s L2/R2’s dedicated daughterboards interprets and send to the primary Dualsense motherboard. I had to convert it to a digital signal in order for a button (which simply has an on/off state, no variability) to operate as intended.
– The internals of the box have modified standoffs to hold a support that the motherboard is mounted to. Getting that foundation just right so that the board was fit/oriented perfectly, joysticks stuck out far enough, etc was a little tedious.
– I initially wanted the motherboard to be hidden inside the box, but issues with phantom inputs arose once I had it all in place. I had desoldered the joysticks, connected them to the motherboard with wires (many, many, wires…) and mounted them. Due to inherent resistance caused when introducing a new medium electricity must first pass through in order to reach its destination, this would cause the board to interpret that resistance as input, which caused those phantom inputs. I could’ve went down the rabbithole of “cleaning” the resistance from source to destination using some components between each wire, but just leaving the joysticks attached to the board was the best route in the end for ease of installation and mount-ability.
Hurdles to come:
– Choosing transparent plexiglass wasn’t just an aesthetic design choice. I intend on installing solar panels in the void space where buttons aren’t present so that the battery will passively charge. USB-C charge via a cable will override it when plugged in, of course.
– The USB-A port located next to the USB-C input is currently unused. I will install an arduino/raspberry pi in the hitbox (since there’s so much empty space!) with all of the buttons routed into the microcontroller’s GPIOs to allow for re-mapping the buttons on the fly. The USB-A port would be for interfacing with the microcontroller via serial. I go back and forth on where I want the buttons positioned (like swapping X and O) and instead of resoldering the connection to the button, it would be more efficient to reprogram it via software. Plus, it’s cool!
– I’d like to combine two PS4/PS5 (they’re interchangeable) batteries to form a larger capacity battery for longer charge. I tried just soldering two in parallel, but I suspect the Dualsense is programmed in such a way to only charge to a specific capacity. Some devices are tuned in such a way to only be able to work with specific mAh batteries, and I suspect that’s the case here. Will take some tinkering to work around this.
Conclusion:
I initially set out to do this because the hitbox I wanted needed to have dual-joysticks, and I could only find a few at the time of searching, and they would need custom built. Instead of trying to explain the exact spacing of what I wanted to a builder, I figured I’d do it myself. This was done for ergonomic reasons, as the Dualsense is too big for my (admittedly) small hands and causes wrist issues. This idea came from the awesome Kingdom Hearts content creator bl00dybizkitz who had this own box built for him.
Buttons, bare housing, and colored screws were sourced from Focus Attack.

You must log in to post a comment.